Camera and pictures
Frame your pet exactly, repeat a shot, and save a transparent picture of it.
Frame the shot
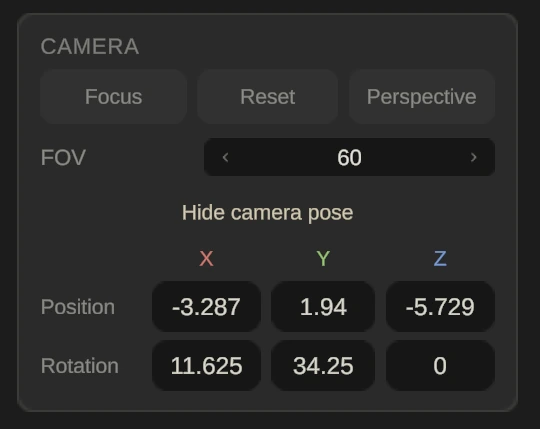
Open the Camera tab (the camera icon, last in the row). Focus frames what’s selected, Reset brings the camera home, and the Perspective button switches to a flat orthographic view; it then reads Orthographic, and clicking it again goes back. FOV sets how wide the lens is.
Show camera pose opens the camera’s exact position and rotation. Type numbers there to repeat the same shot later, or to line up a set of pictures.
Under Shot, Iso jumps to a three-quarter orthographic view from above. Copy and Paste carry a whole shot (projection, rotation, position and size) from one pet to another, so a series of pets can be pictured the same way.
Save a picture
Under Image, tick a size: 256, 512 or 1024 pixels, or several at once. Choose a Transparent or Solid background, and turn on Black outline for a sticker look. Pick a folder with Save to, then press Capture image. Each picture is a PNG named after your pet, like MyPet_512.png.
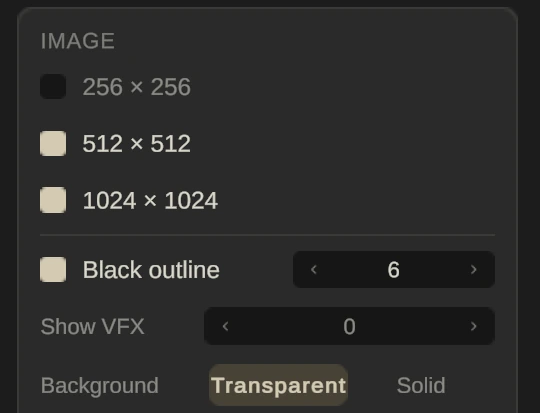
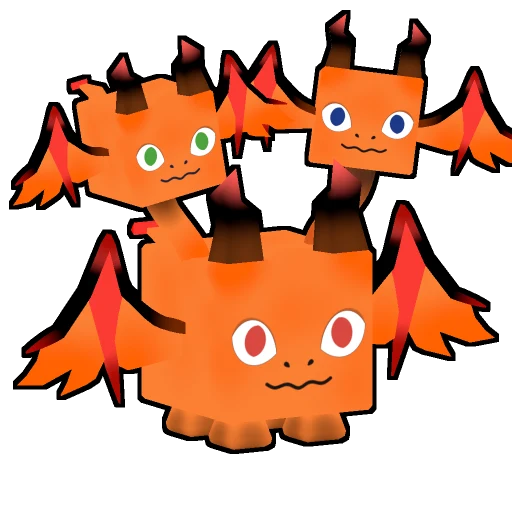
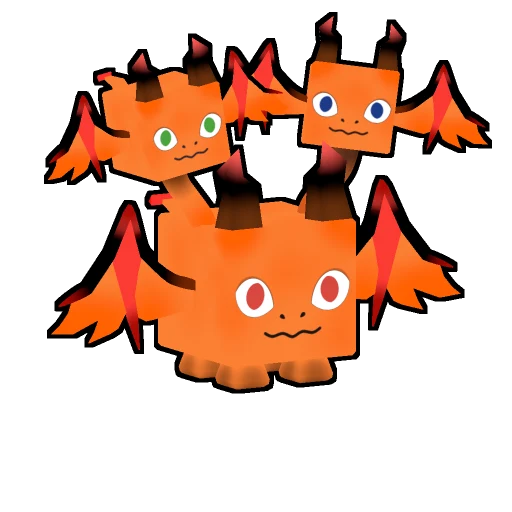
Pictures show the pet as you see it in the viewport. Effects stay out of them unless you raise Show VFX under Image. It counts seconds into the effect, from 0 (no effect in the picture, the default) up to 8, and the picture shows the pet’s effect frozen at that moment. They’re ready for a Roblox game icon, a thumbnail or a post.