Faces
Add eyes, mouths and noses, put them in order, wrap or flatten them, and bake them into the body.
Add face parts
Open the Face collection in the library. Its categories are Eyes, Highlights, Mouths and Noses. Click one and it is added as a picture laid onto a part, and you move it onto the head like any other part.
Arrange them on the Face tab
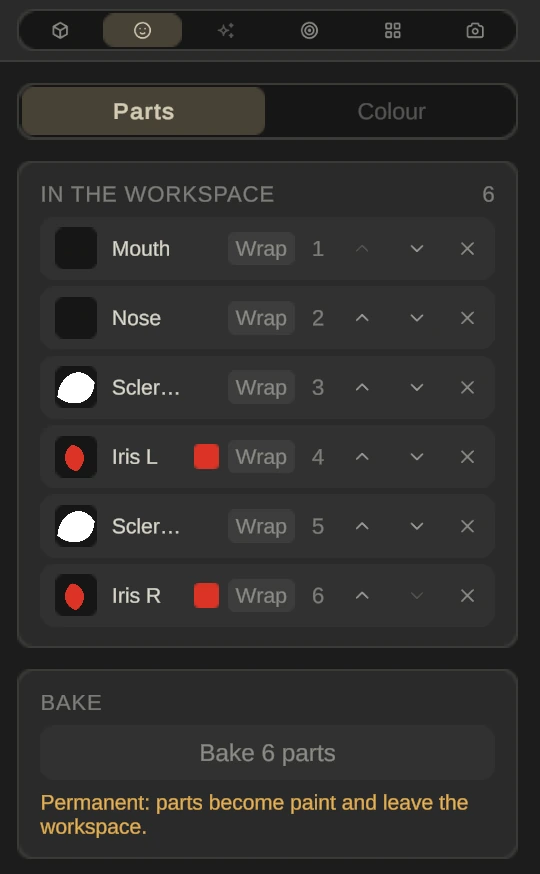
The Face tab (the smiley, second in the row on the right) has two pages. Parts lists every face part in the pet under In the workspace. The part at the bottom of the list is drawn on top, so use the arrows to change the order, and the cross to take one out.
Each row has a Wrap chip: the picture folds over the part’s edges. Click it for Flat, which stops where the part turns away. Parts such as irises show a small colour swatch, and the Colour page recolours a face part; Reset to as drawn puts its original colours back.
Bake
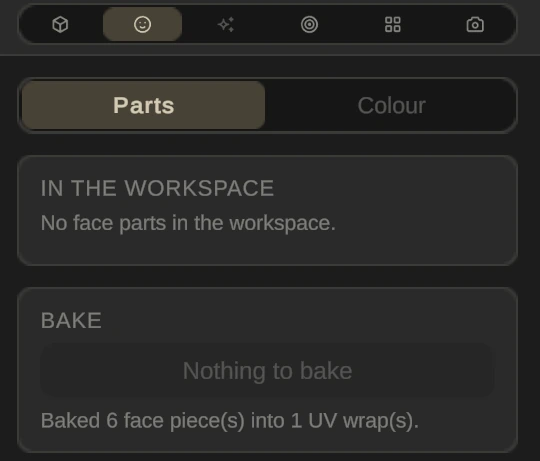
Bake 6 parts (the number is how many face parts you have) turns them into paint on the part behind them, in list order. They leave the workspace, so baking is permanent, but Ctrl/⌘ Z right after brings them back. Afterwards the Face tab says No face parts in the workspace and Baked 6 face piece(s) into 1 UV wrap(s). Baked faces are paint, so the Solid shading view hides them with the rest of the paint.
While you paint, face parts are put away so you can paint the body behind them. They come back when you leave Paint.