Getting around the app
The screen, the three modes, moving the camera, the five shading views and the shortcuts card.
The screen
The left dock is your library: parts in Build, colours and brushes in Paint, effects in VFX. The viewport in the middle is your pet. The right dock lists what’s in the pet at the top (the Outliner) and shows the settings for whatever you’ve selected underneath.
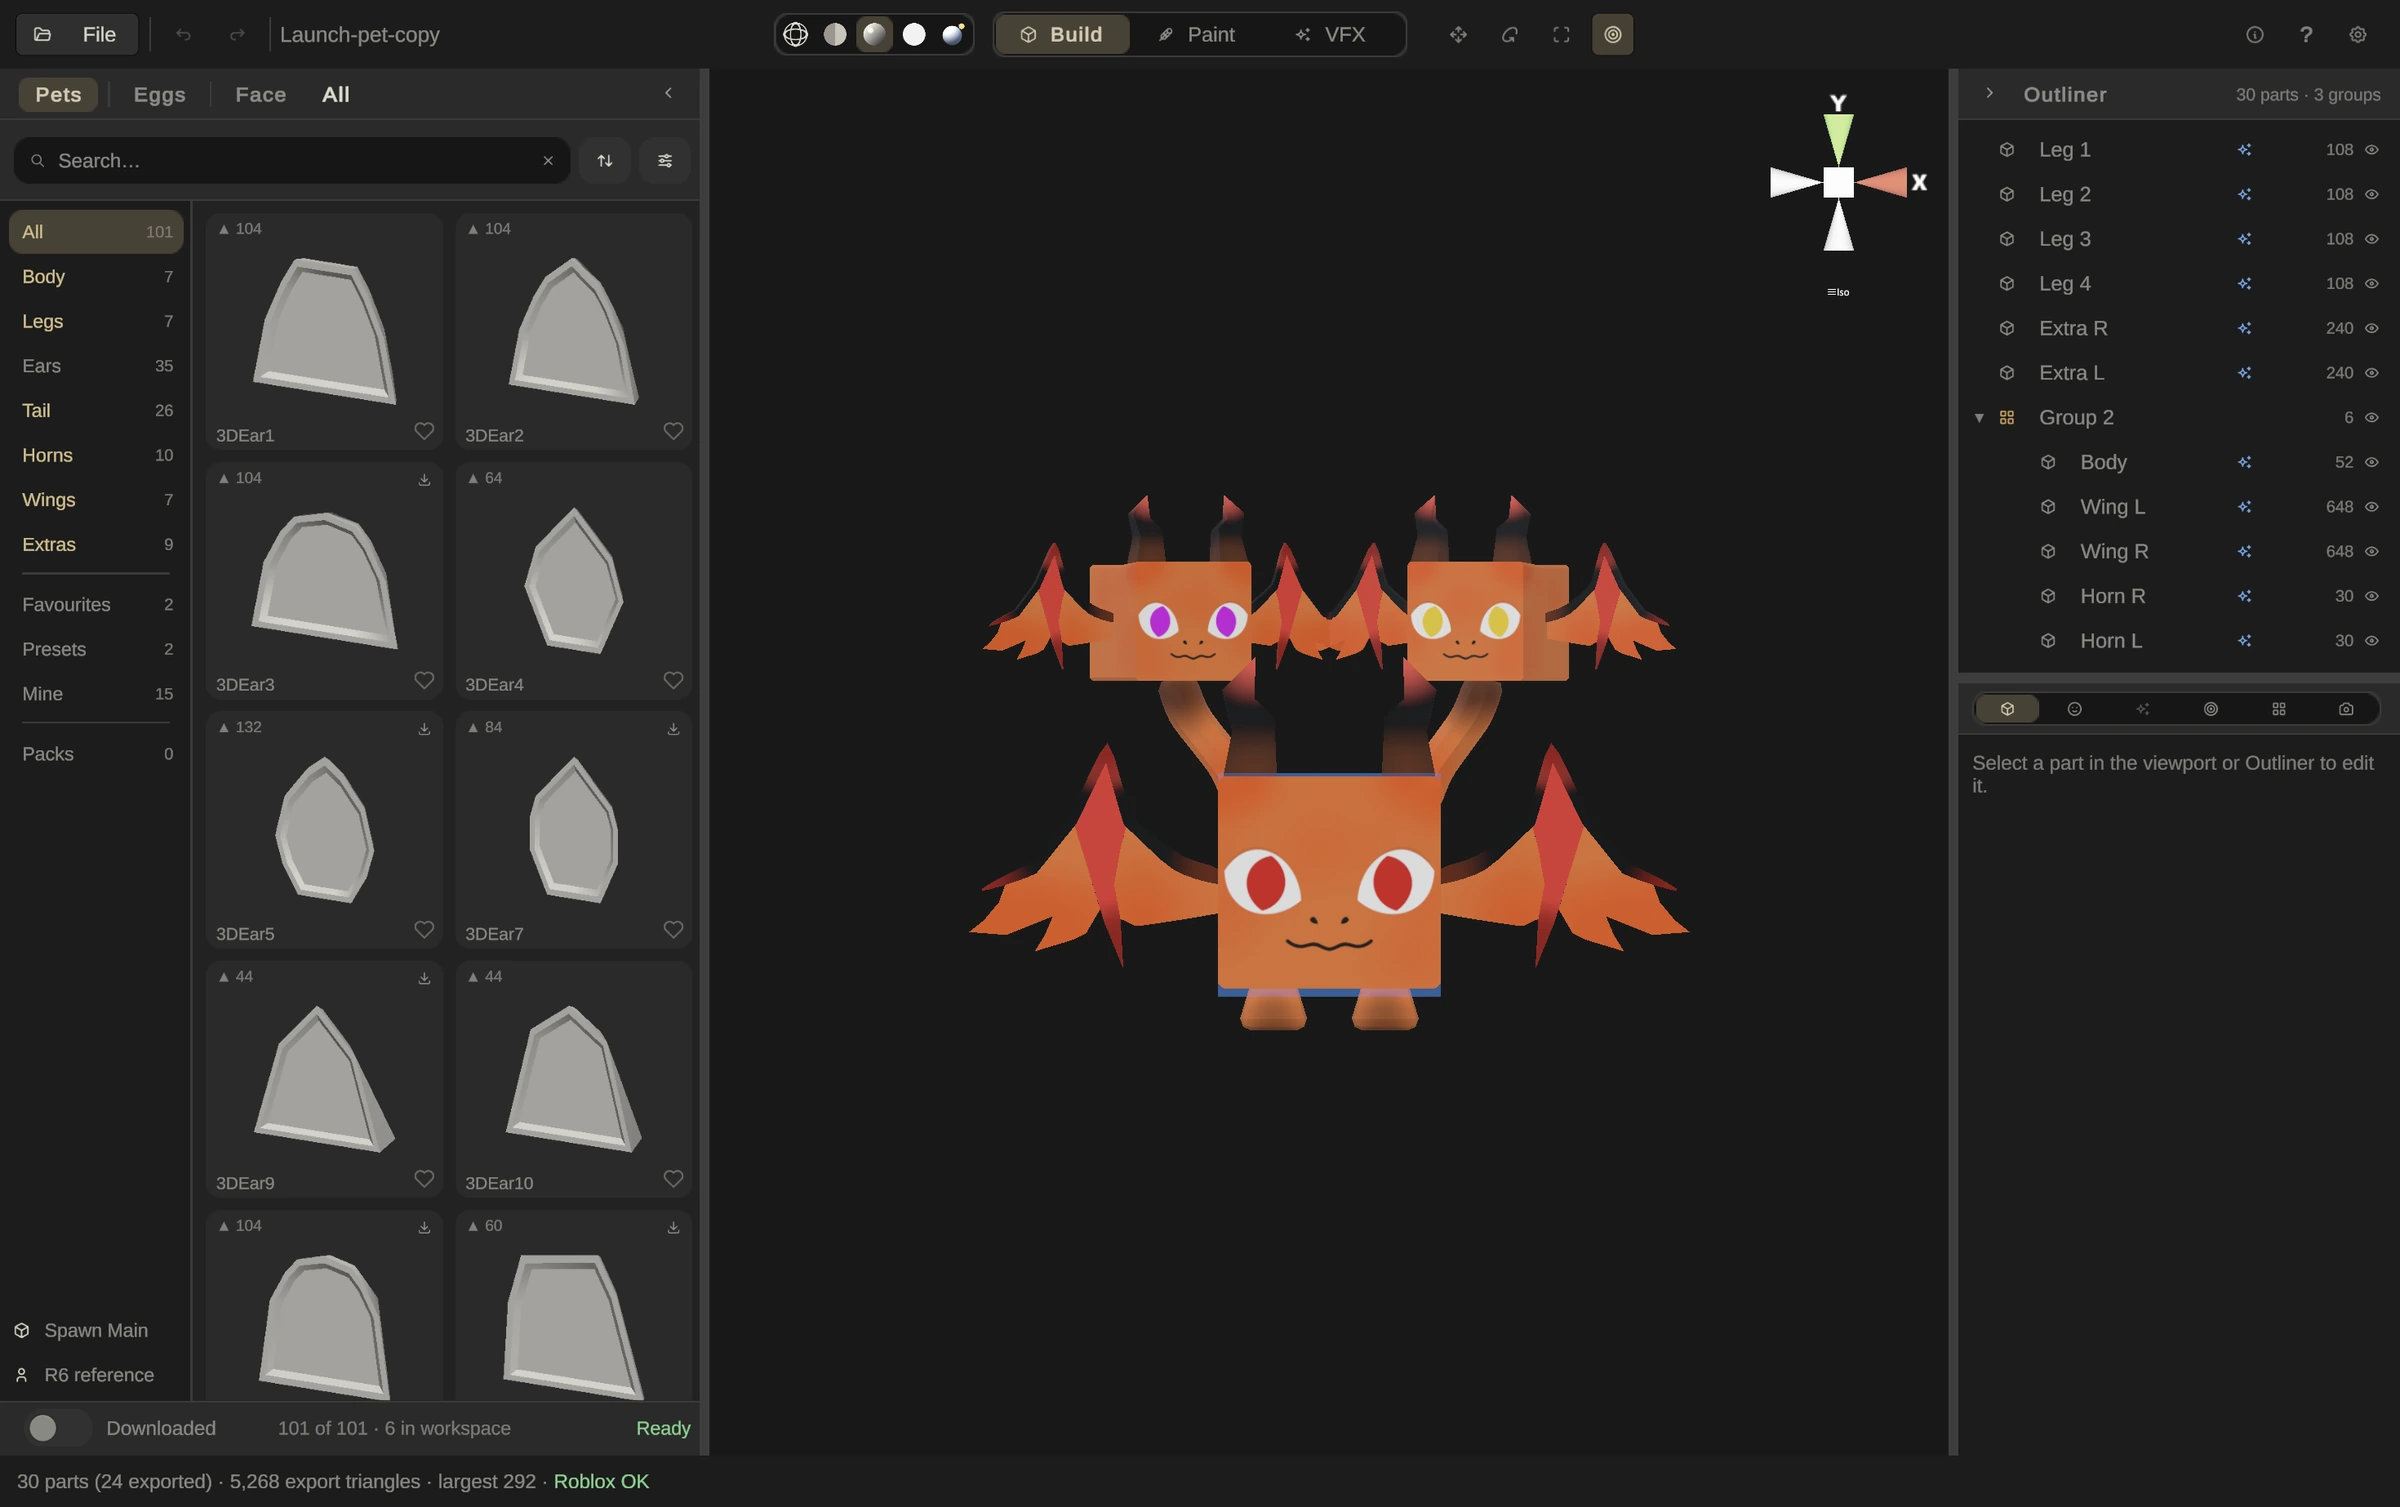
Along the top, from the left: File, Undo and Redo, your pet’s name (a * in front means unsaved changes), five shading buttons, the Build · Paint · VFX switch, the tools for the current mode, then About, Help ? and Settings.

The strip along the bottom counts your parts and export triangles, and shows the triangle count of your largest mesh. Roblox OK in green means every part is under Roblox’s 20,000-triangle limit for one mesh. It turns amber from 16,000, and red when a part is over the limit, naming that part.

Build, Paint and VFX
The app has three modes. Click one in the middle of the top bar, or press its key.
| Mode | Key | What you do there |
|---|---|---|
| Build | Add parts, move them, snap them together, set up faces and wraps | |
| Paint | P | Draw on the pet with colours, materials, brushes and shapes, and grow things on it |
| VFX | M | Give the pet particle effects that go into Roblox with it |
Each mode swaps both docks to its own tools. Paint and VFX work like a session: nothing you do there touches the pet until you press Done, and Discard throws the whole session away. If you leave another way with changes made, the app asks whether to keep them.
Moving the camera
| To do this | Do this |
|---|---|
| Orbit around the pet | Middle-drag, or Alt + drag (Option on a Mac trackpad) |
| Pan | Shift + middle-drag, or Shift Alt + drag |
| Zoom | Scroll |
| Fly | Hold the right mouse button and press W A S D (Shift flies slower) |
| Frame what’s selected | F. Press Ctrl/⌘ A first to select everything and frame the whole pet |
| Flat front, side or top view | Arrow keys. Left and Right turn the pet. The Orthographic button on the Camera tab leaves a flat view |
You can change the camera speeds in Settings → Camera controls.
Shading views
The five round buttons left of the mode switch change how the viewport draws the pet. They never change the pet itself.
- Wireframe: see-through, so you can see effects and parts inside other parts.
- Solid: the raw model with your paint hidden, for judging shapes.
- Material: your paint under the workspace lighting. This is the default.
- Flat: no lighting at all, so every colour is exact.
- Roblox look: lit like Studio’s default Baseplate, so you can judge colours the way they will look in a Roblox place.
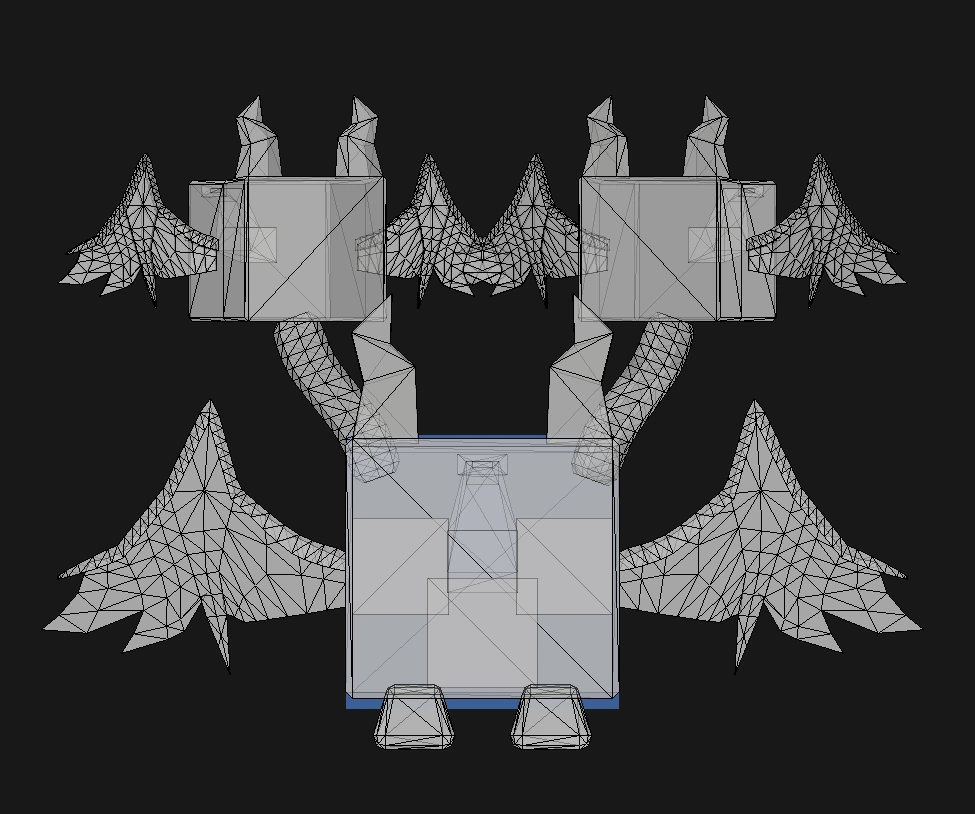
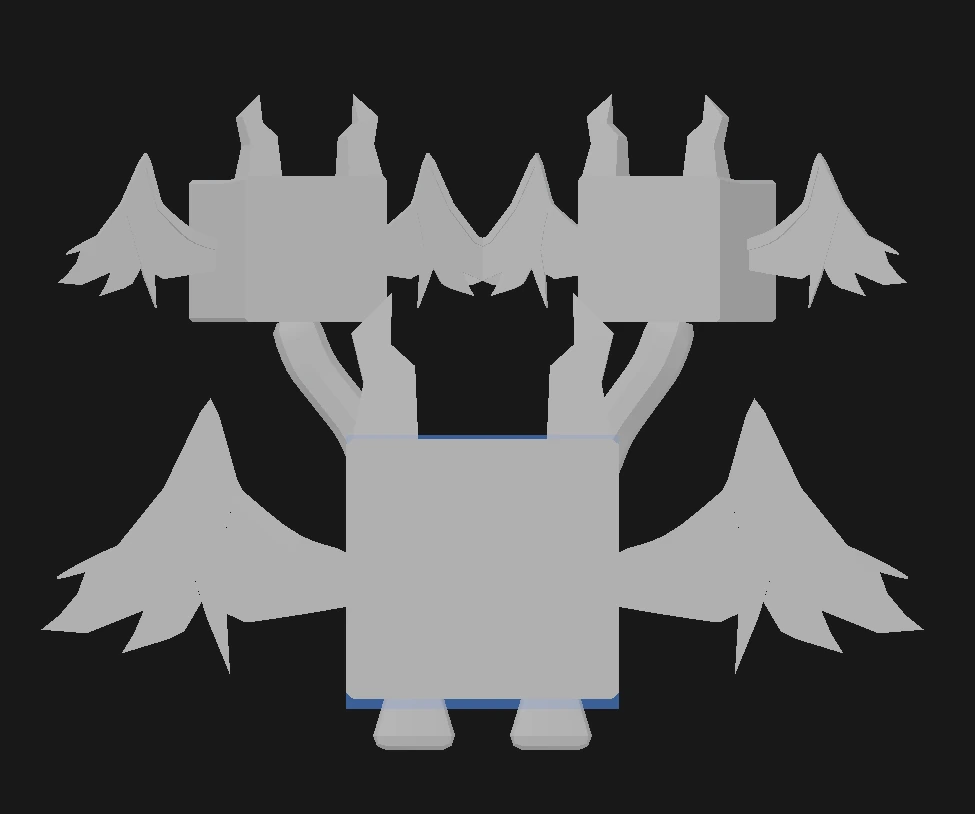
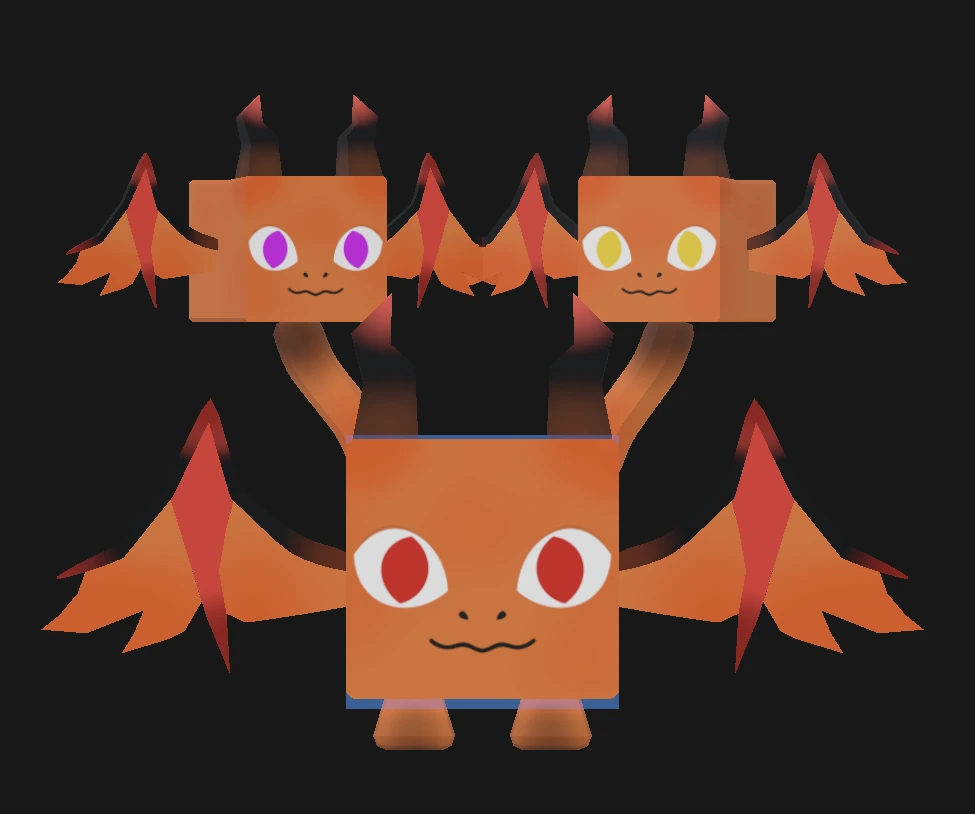
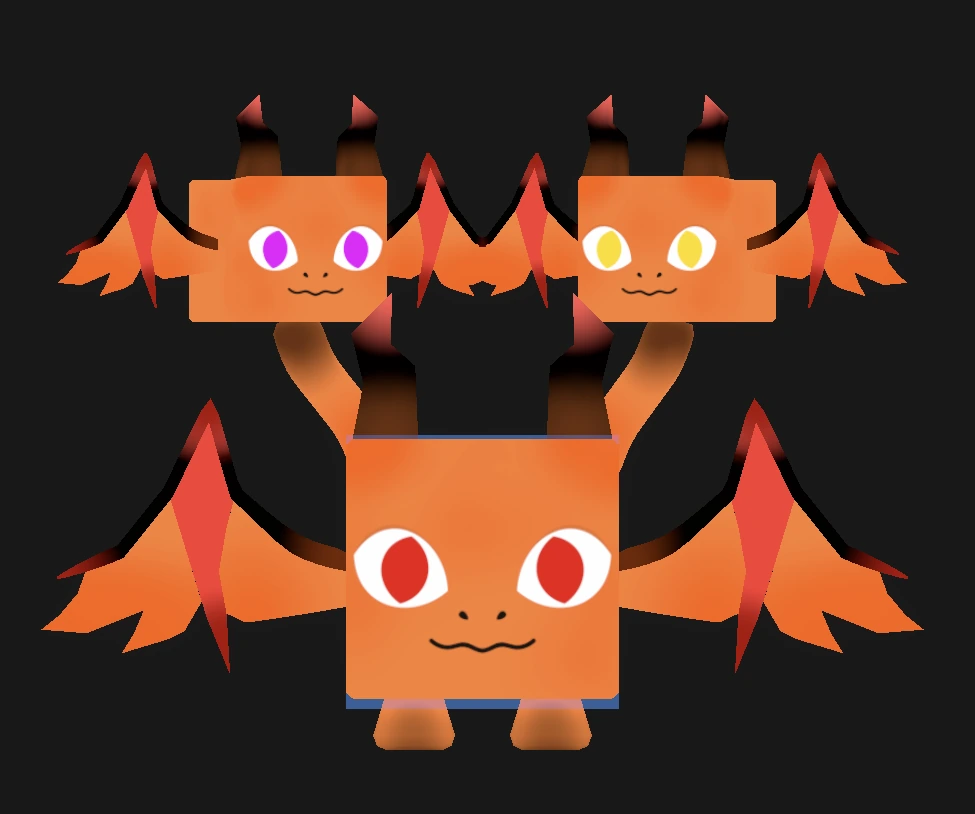
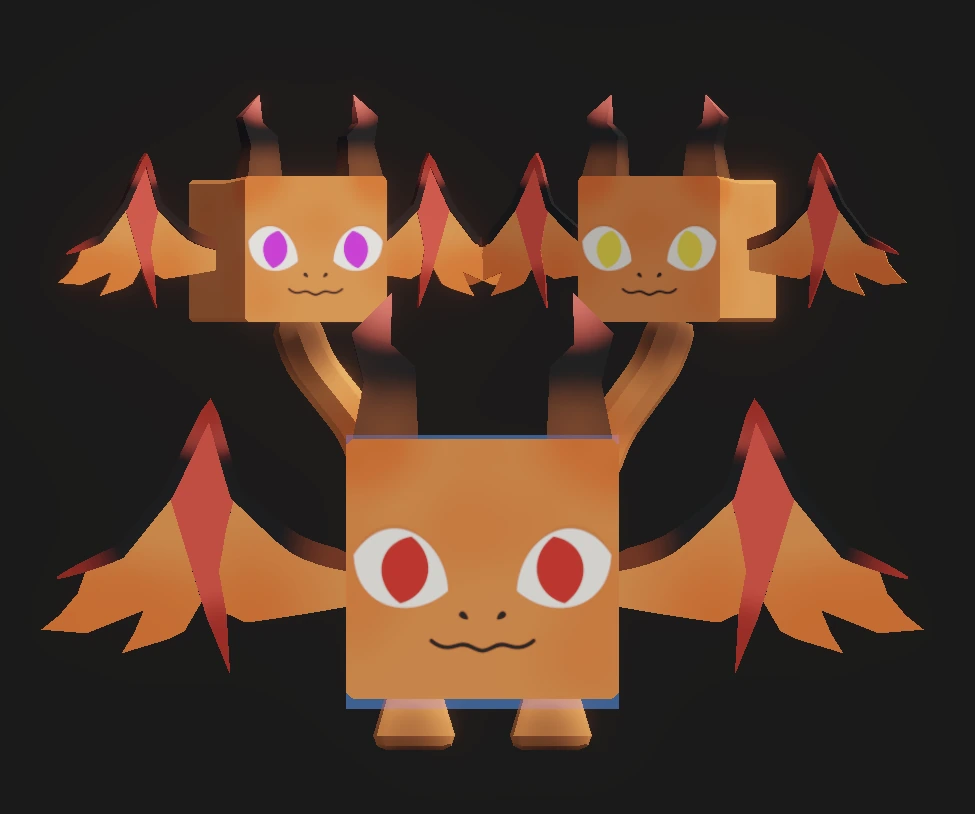
Face parts that aren’t baked yet are pictures, not paint, so they still show in Solid. Bake them on the Face tab first, as in the Solid picture above, and Solid hides them with the rest of the paint.
Wireframe and Solid can’t be used while you paint, because they would hide the canvas you’re painting on.
The shortcuts card
Press the ? button at the top right for every key and mouse action on one card: moving around, selecting, moving and scaling by hand, Paint mode, files, VFX and the paint textures. On a Mac it shows Cmd, on Windows Ctrl; edge snapping is the Control key on both systems.
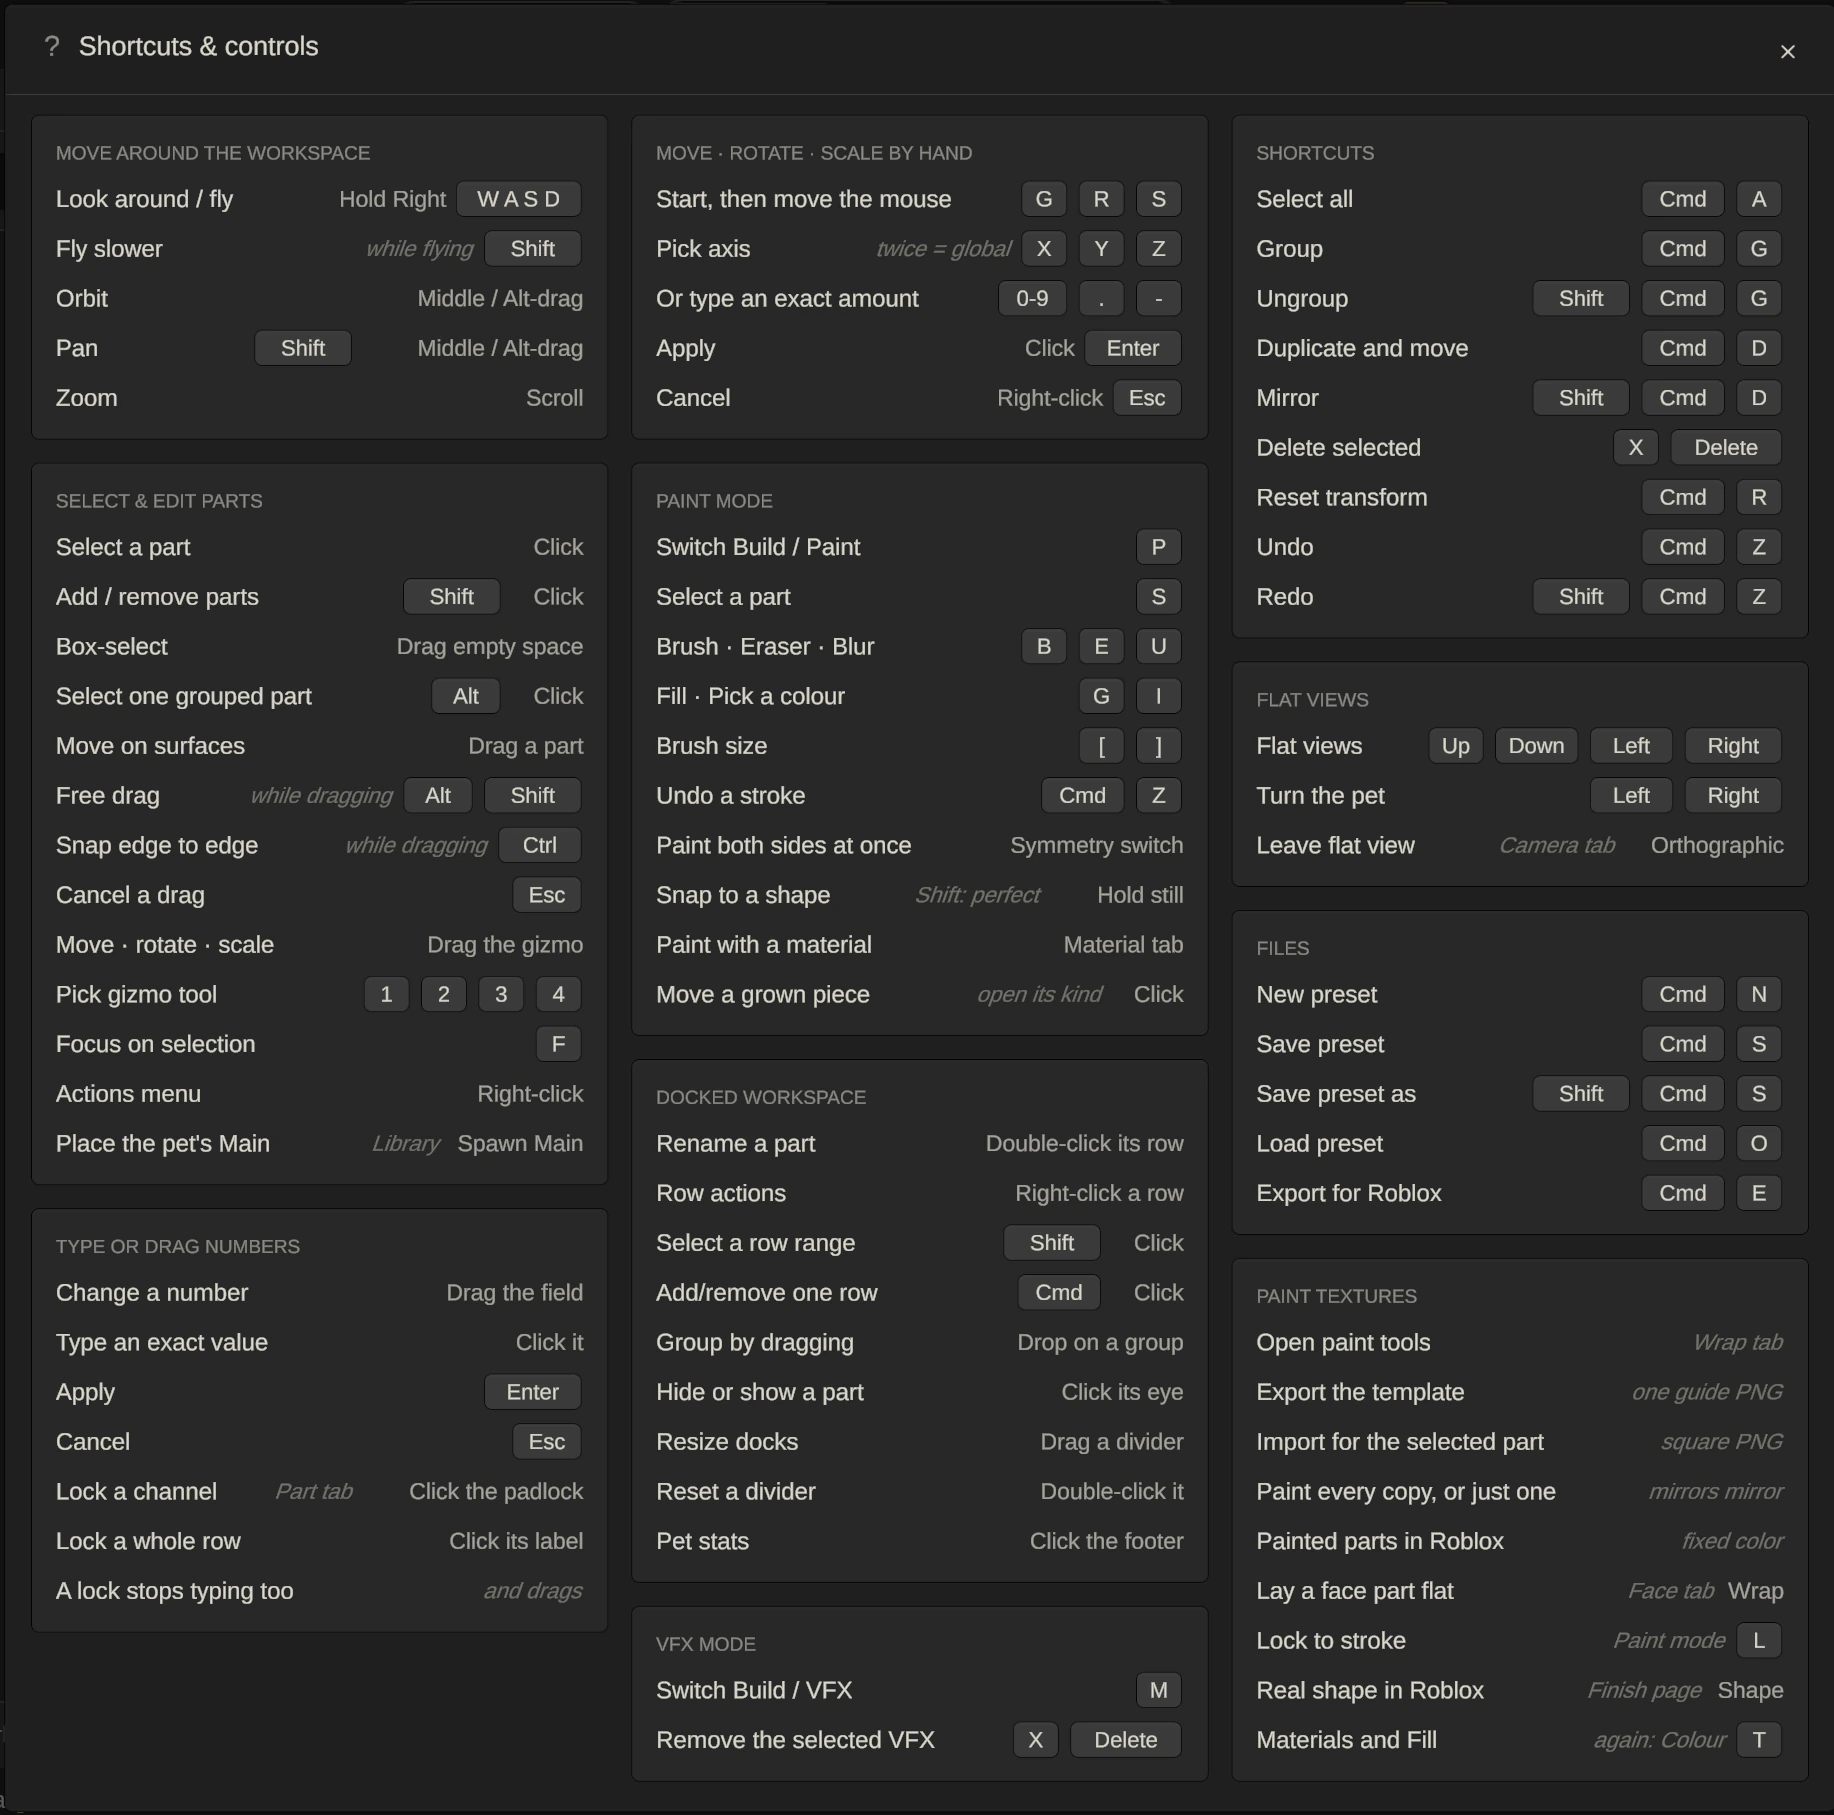
Two keys are worth remembering from Paint mode: T opens Paint with the Fill tool and the Material page (press it again to go back to Colour), and L turns Lock to stroke on and off.